

The concept is based on the Emo trend and I
will take you trough all the steps from sketch to full color vector. I
am using Illustrator CS3, pen, paper, scanner, and Wacom tablet.


Thanks to all..........
Oceanbird Rohit
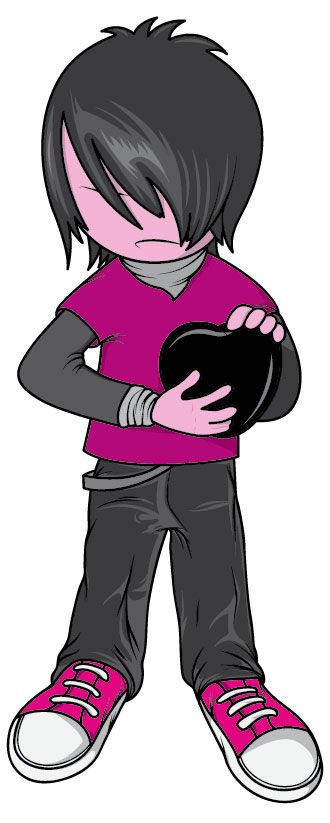
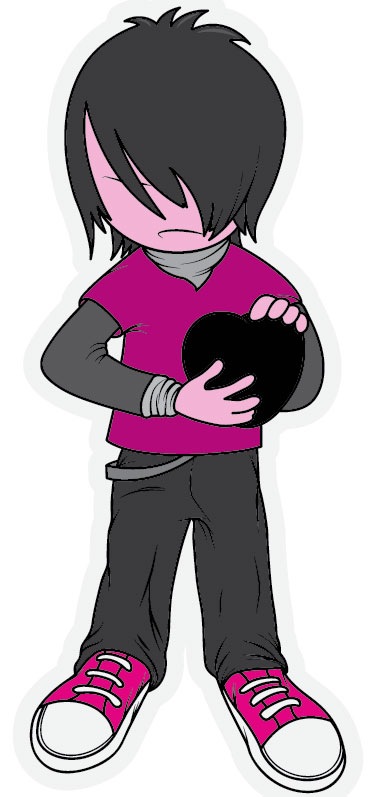
Final Image Preview
Below is the final design we will be working towards. Want access to the full Vector Source files and downloadable copies of every tutorial, including this one? Join VECTORTUTS PLUS for just $19/month.Step 1
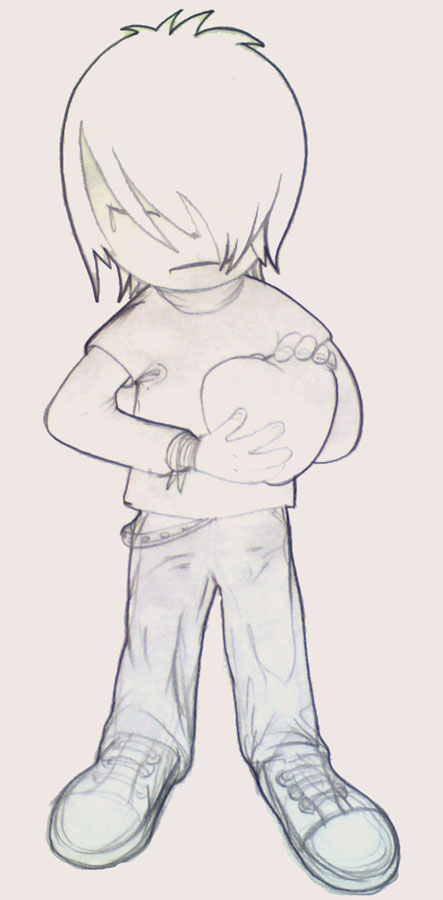
I often find myself spending more time drawing the sketch on the computer than on paper, so I prefer to draw a sketch the old fashion way using a pencil and a piece of paper first.Step 2
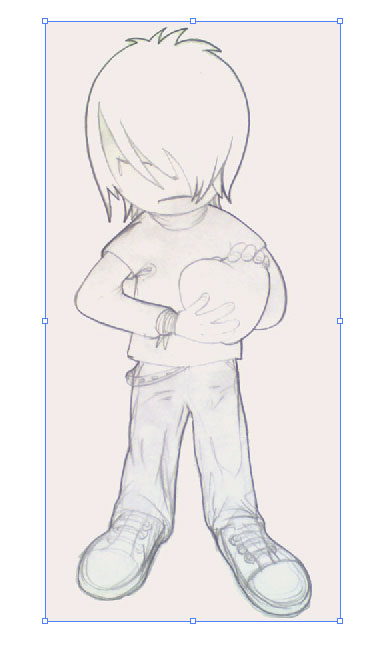
After you draw the sketch on paper, scan it, and save the image on the computer. Go to Illustrator and open the bitmap file (Command + O). Select the image using the Selection Tool (V).Step 3
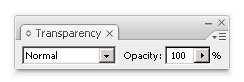
Lower the Opacity of the sketch from the Transparency Toolbox (Shift + Command + F10). I’ve selected 74 as the setting.Step 4
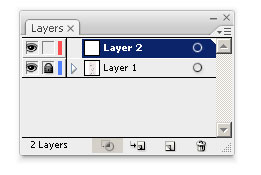
Bring up the Layer panel (F7). Lock the layer and create a new one so you can draw the line art using the initial sketch as a guide.Step 5
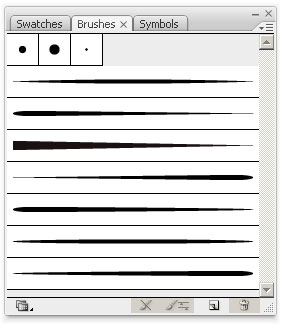
Before you start drawing the vector outlines you need to make sure you have the proper brushes handy. For PLUS Members, I included a set of ten custom brushes I usually use for tracing.Step 6
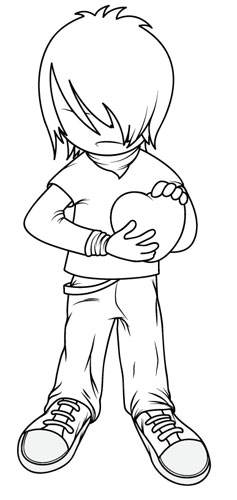
Now that you have everything ready let’s get started with the line art. You start with tracing the outline (contour) and then you continue with the inner lines until all the line work is done. You do this using the Pen tool (P) and apply different stroke weights to the brushes you use. Here’s what I obtained.Step 7
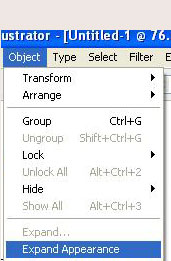
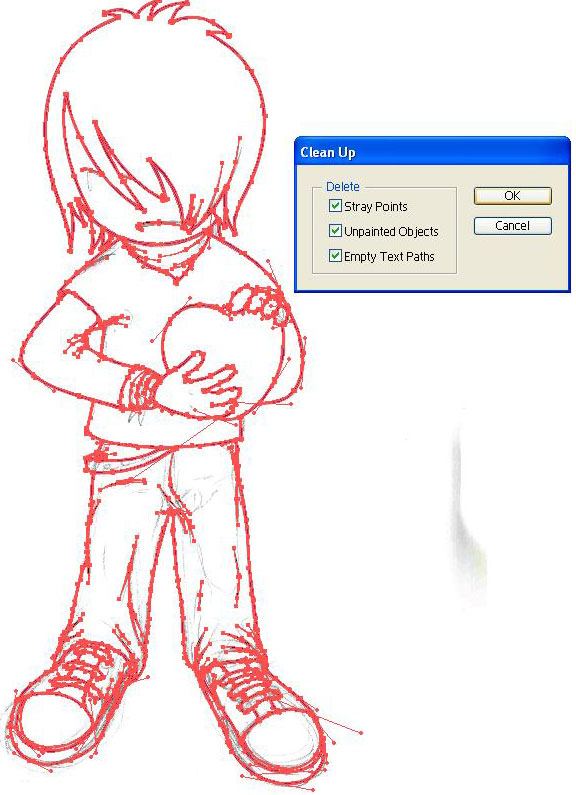
After you finish with drawing the lines, select all the paths (Command + A) and got to Object > Expand Appearance to convert the brushes into Closed Paths.Step 8
Go to Object Path > Clean Up to fix the empty paths that may cause you unnecessary problems.Step 9
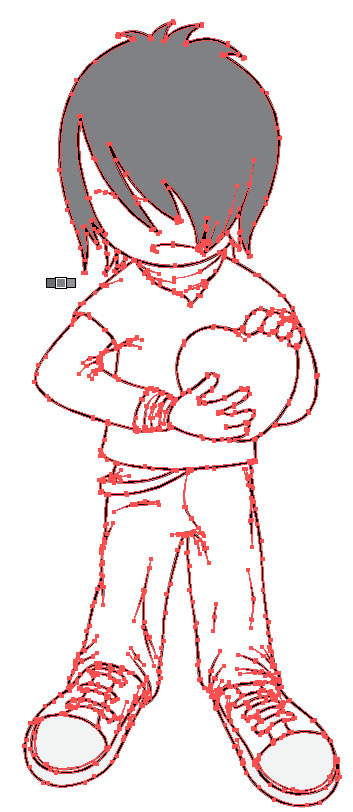
Drag around the image using Selection Tool (V) and start adding color using the Paint Bucket tool (K).Step 10
After you add the proper fill colors don’t forget to press the Expand button.Step 11
We’ve finished adding colors but it looks like we don’t have enough depth as with most vector designs.Step 12
In order to give a sense of more depth, we new need to add the shadows and lighter areas to the illustration. So you need to select the desired shape with the Direct Selection Tool (A). Copy (Command + C) and paste (Command + F) the areas with the same color on top of themselves (ex. shoe, shirt, etc..)Step 13
Repeat Step 11 for all the colors and shapes in the illustration and when you find an area divided in several slices (ex. the red upper and lower violet part of the shirt) merge them together to avoid later complications.Step 14
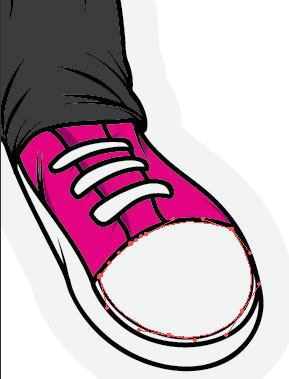
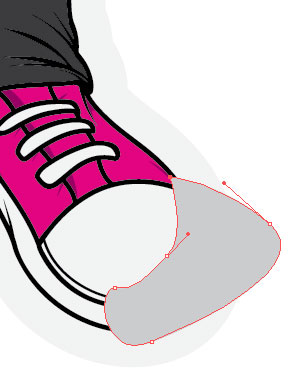
Draw a filled path with your color around each area that has the same color without having to worry about your path going outside the drawing area. Select the shadowing layer and the regular colored layer with the Direct Selection Tool (A) while holding down the Shift key.Step 15
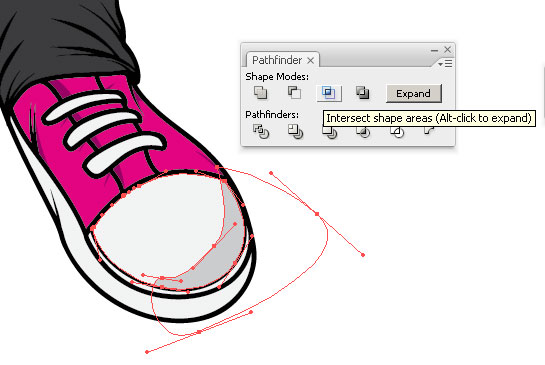
Bring up the Pathfinder Tool Box (Command + Shift + F9), click on the Intersect Shape Area and then press the Expand button.Conclusion
Repeat Steps 14 and 15 on all areas you want to apply a shadow to. You might also apply accents on areas such as the hair…, feel free to experiment. This is how my Emo Boy looks at the end.Oceanbird Rohit
No comments:
Post a Comment