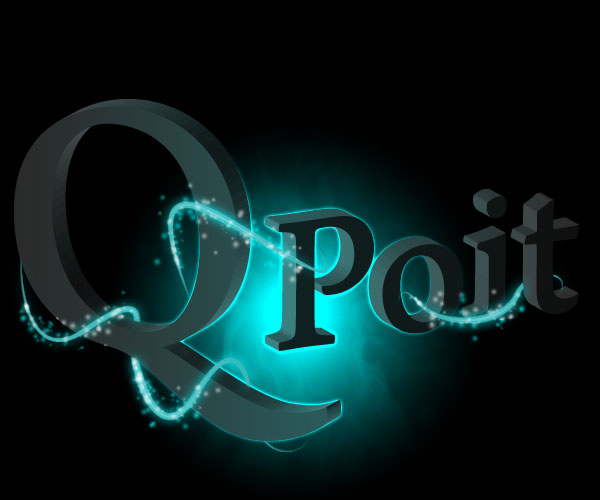
After my previous tutorial on how to create a frog logo in Photoshop, I'm now going to teach you how to create a
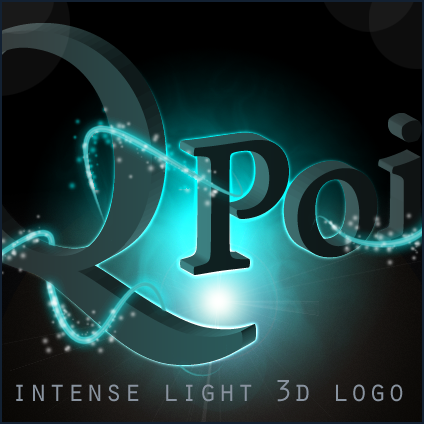
glowing and sparkling intense light 3D glow logo. This tutorial shows different techniques that I learned in the past couple of weeks and it'll surely blow others away.
Most of this tutorial is done in Photoshop, the 3D letters are
created in Illustrator. If you don't have Illustrator, you can also try making 3D letters in Photoshop.
I'm creating the word "
QPoit", which actually is a
fun word (and non-existing) used between my friends and me (Don't ask me
why). Get ready to make some amazing artwork.
Create a super glowing and sparkling intense light 3d logo
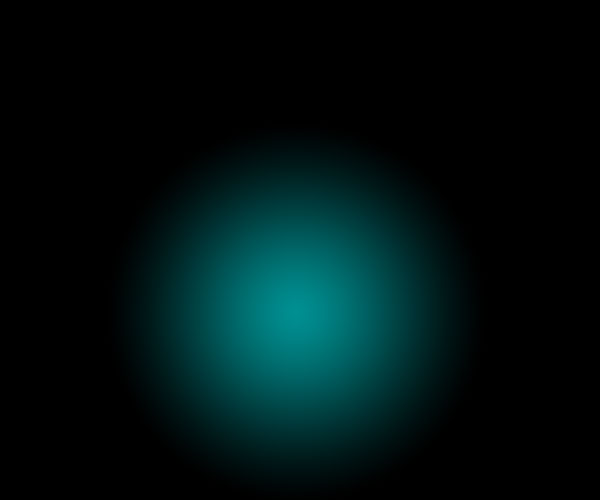
Create a new document in Photoshop. Grab your
Gradient tool to make a
Radial Gradient. I created one using a background color of
#000000 and a foreground color of
#009092. Place it a little bit under the center of your work, it'll look nicer at the end.
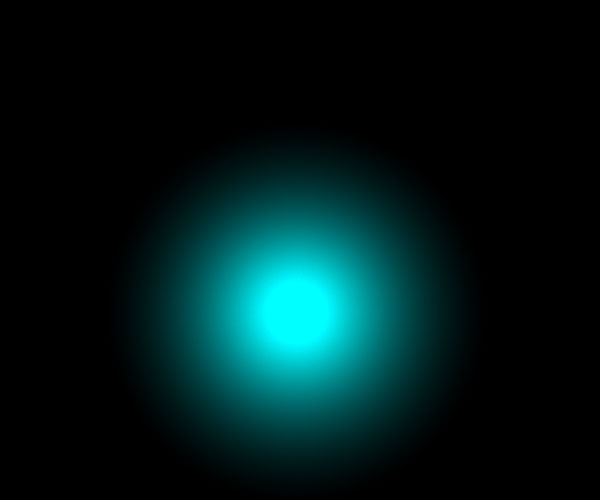
Duplicate your layer and set the layer properties of the top layer to
Color Dodge. This will make your light ball a stronger light effect.
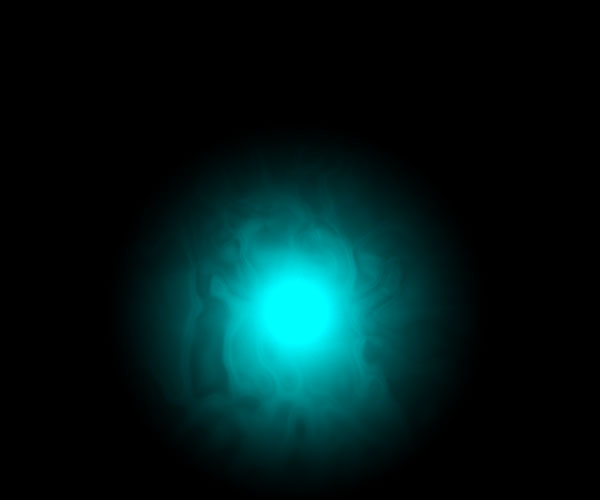
Now we'll add some distortion to our orb, just to break the pattern. Create a new layer and render some clouds by going to
Filter > Render > Clouds. Make sure you use a blackground with
#000000 and foreground
#FFFFFF
Change the layer style to
Overlay and change the
Opacity to 30%. Now go to
Filter > Sketch > Chrome, use the default settings (Detail 4 & Smoothness 7) and press OK.
Let's change applications. Open up Illustrator and place a character
or word in a new file. I'll be making the word QPoit with a color of
#000000 and a font called
Arno Pro. Go to
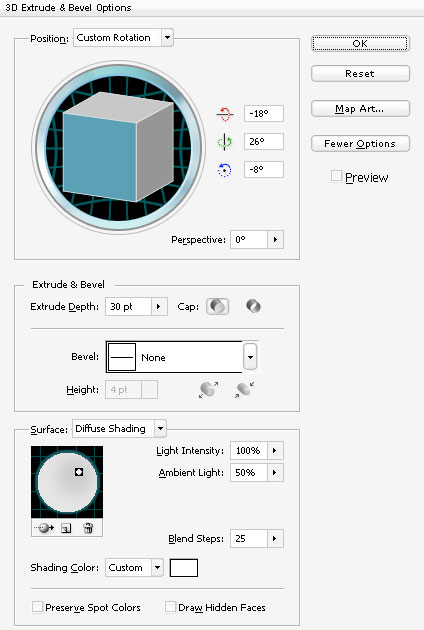
Effect > 3d > Extrude & Bevel to open up a new window.
I used the following settings that you can see below. Check the
"Preview" box to show a preview while editing your variables. I also
changed the shading to
#FFFFFF. The second part of the
word ("Poit") uses the same settings as the "Q". The only change is the
Y-asis: it has a rotation of -26.
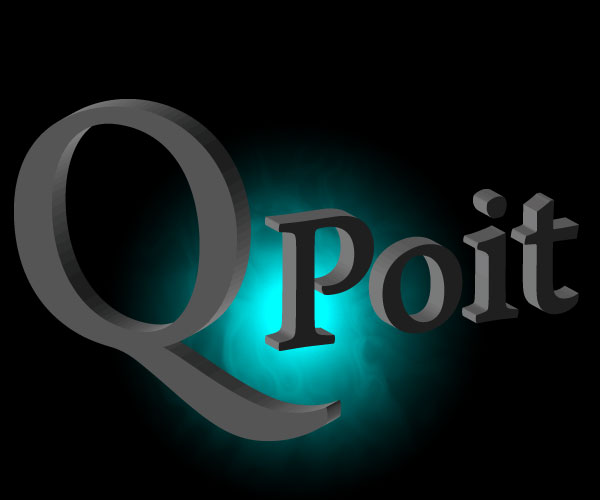
Drag your 3d characters to your Photoshop file to directly implement
them. I know it doesn't look very pretty (yet) at this moment, but we're
getting there.
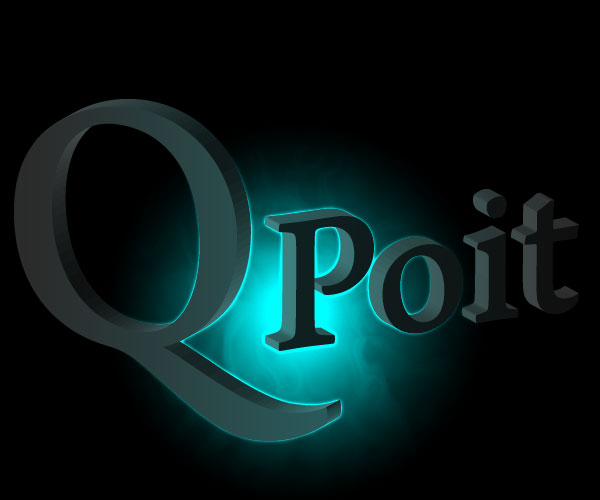
Right click on the right word (in my case the "Poit" part) in your layers and select
Blending Options. I added an
Outer Glow with the
Blend Mode set to Color Dodge. The color I used was
#FFFFFF with a total opacity of 75%.
Also add a
Gradient Overlay with the
Blend Mode set to Overlay. The gradient has an opacity of 50%, starting with
#009092 and going to
#000000. The
angle is set to 180.
The "Q" part uses the same settings, but only with the
Gradient Overlay has an
angle of 0.
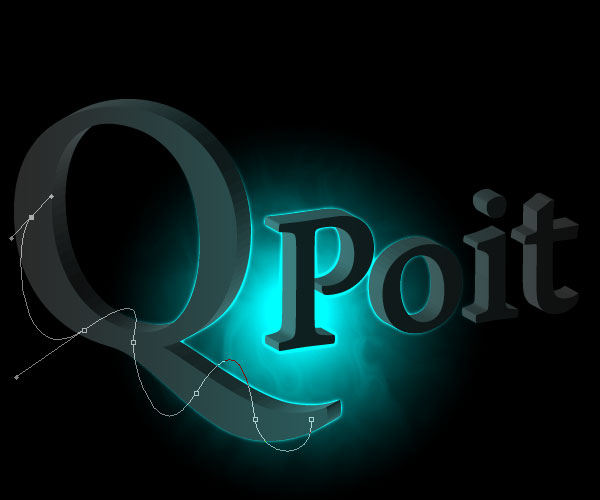
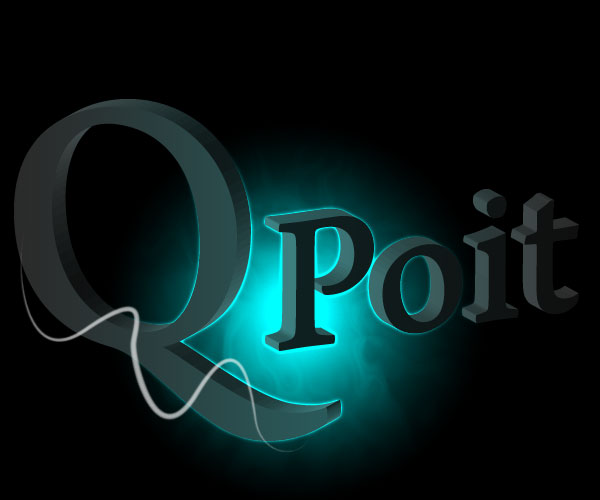
Create a new layer on top of all your other layers. Grab your
Pen Tool (P) and create a Path. Try making it look fancy, as if it is really turning around any part of your 3d character.
Grab a basic brush with a diameter of 7 with a hardness of 100%, the color
#FFFFFF and flow of 25%. For Photoshop CS3, open up your Brushes palette (F5). Check
Shape Dynamics and set
Control to Pen Pressure.
Right click in your paths palette on your just created work path and select
Stroke path... The source is a brush and make sure you check the
Simulate Pressure box: It'll give the nice, smooth edges. You can now delete your path.
Get rid of the parts of the swirl that you want to look like as if they are behind the character. You can use the
Eraser Tool (E), but since I'm a fan of non-destructive Photoshopping, I would recommand creating a
Layer Mask and brushing those parts away.
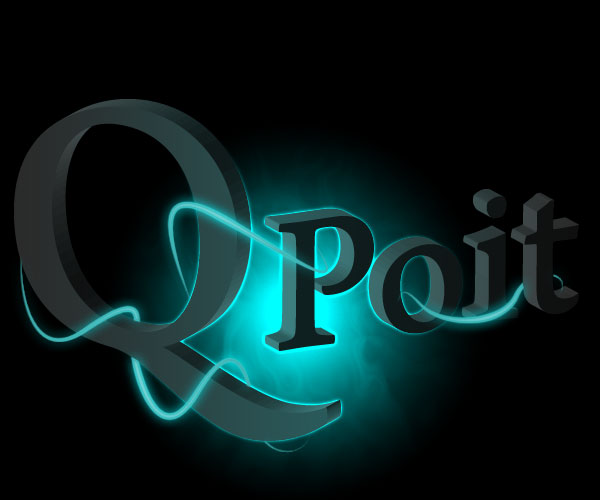
I created two other swirls that are wrapped around my characters. Add an Outer Glow to each swirl by changing the
Blending mode. Set the Outer Glow to Color Dodge with an opacity of 50%. I used the color
#009092 with a size of 13 px.
Also add some inner glow to the swirls. Set the
Blend Mode to Normal with a size of 3 px. I used the same color for the Inner Glow as the Outer Glow:
#009092.
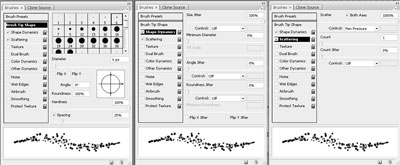
Particles give a nice, futuristic effect to this kind of art. Grab a
soft brush with a size of 9 px. Now go to your brush palette (F5) and
play around with the
Size Jitter, Scatter & Spacing. I decided to make the particles
#FFFFFF and brushed them on a new layer above the swirls. Change the
Layer Properties to Color Dodge. I used the following settings (Click to enlarge the image)
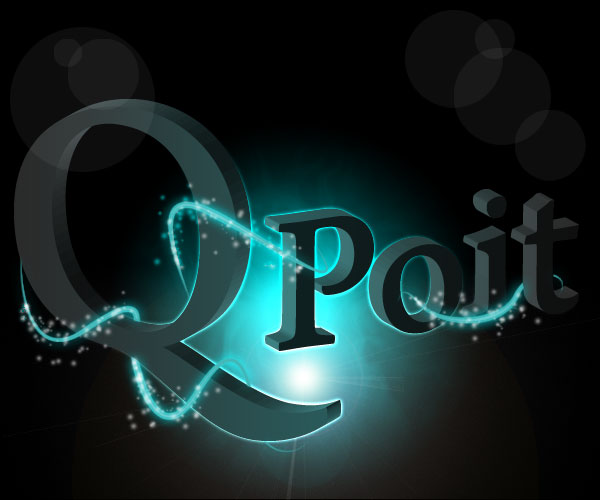
We're now at a stage where we can call the artwork already pretty
much done. I couldn't resist adding a Lens Flare behind the letters by
going to
Filter > Render > Lens flare and using the 105 mm prime with a brightness of 90%. Set the layer style of this layer to "Screen".
You can also add some circles using the
Elleptical Marquee Tool (M), filling them with
#FFFFFF and setting the opacity really low. It'll give the piece some final touches.
There you go, a pretty impressive
super glowing and sparkling intense light 3d logo using Photoshop & Illustrator. I hope you learned something new & feel free to place your artwork created by following this tutorial in the comments.



Interesting post. I Have Been wondering about this issue, so thanks for posting. Pretty cool post.It 's really very nice and Useful post.Thanks
ReplyDeleteWall Lights