

How to create a vector cartoon character from a hand drawn sketch, an Adobe Illustrator tutorial covering the process of creating Captain Blackspoon.
Using similar techniques, follow this tutorial to create your own vector character; Freddy the Fish.
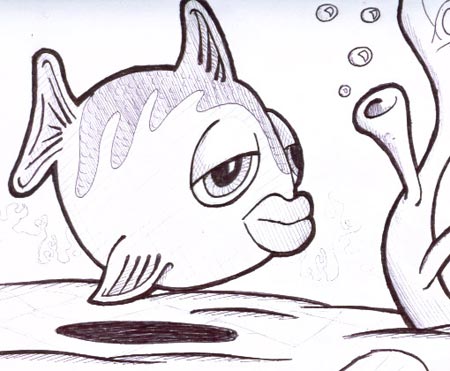
As with Captain Blackspoon, the process starts with a hand drawn doodle which is scanned into the computer.

Open up Adobe Illustrator and place the scanned image into the artboard, set the opacity to 20% and lock the layer.

Create a new layer above the scan (name it outlines) and draw a path following the outside of the character using the pen tool.
Use the Direct Selection Tool to tweak the points of the path to your desire.
Add a thick 9pt stroke to the path.
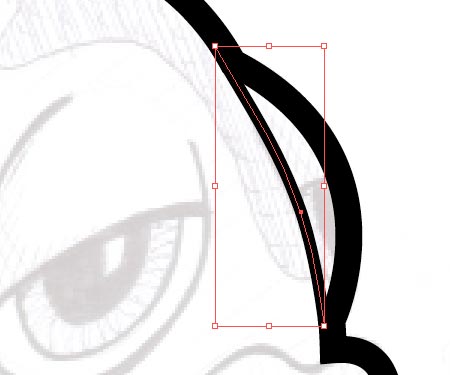
Follow on the flow of the line between the eye and body with a thinner 4pt stoke.

The traditional method of inking drawings results in a tapered brush stroke where the pressure of the pen minimizes to a point. To create a similar effect in Illustrator we need to create a new art brush.
Draw a circle somewhere on the artboard making the size as wide as the largest line width.
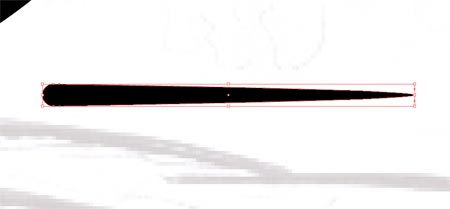
Use the Direct Select Tool to drag the right most point outwards whilst holding Shift.
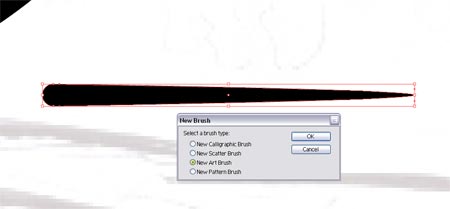
In the Brushes palette click the 'New Brush' icon and select 'Art Brush' from the menu.
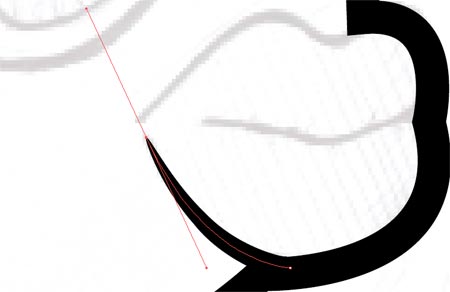

Continue drawing paths across the detail of the character, then select the brush from the Brushes Palette. Line up the stroke with the large outline to create a smooth flow.
Use varying widths to the different levels of detail, where the finer lines are stroked with a 0.5pt line.
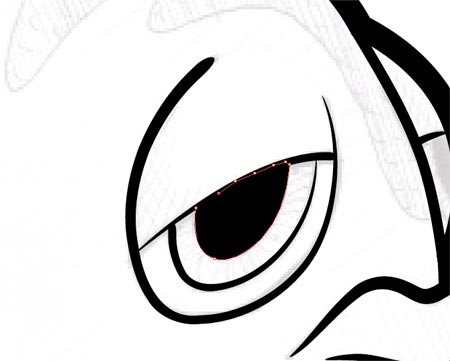
Repeat the process on the outline of the eyes, then create a shape with a black fill to act as the pupil.
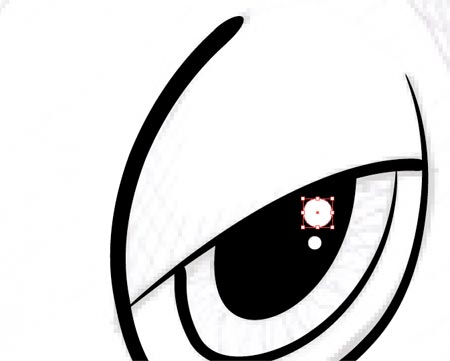
Add a couple of circles to the pupil as highlights.
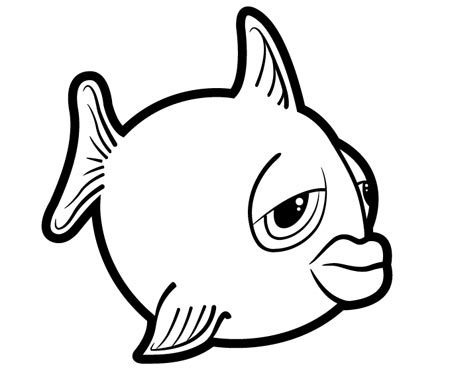
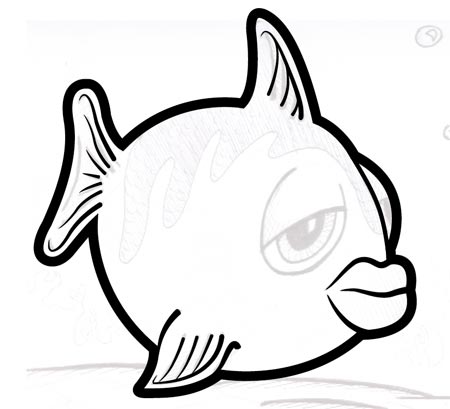
Toggle off the visibility of the sketch layer to check out the outlines so far, adjust any areas as necessary.
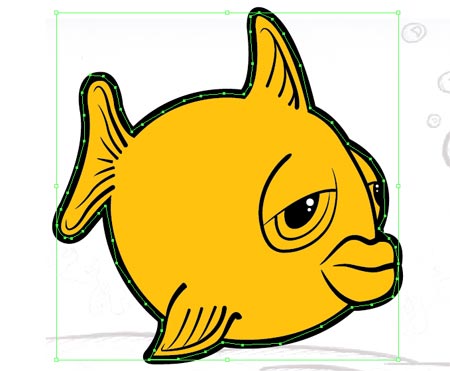
To begin adding colour create a new layer between the sketch and outlines. Select a colour swatch and roughly draw around the outline of the character, make sure not to stray beyond the thickness of the black stroke.
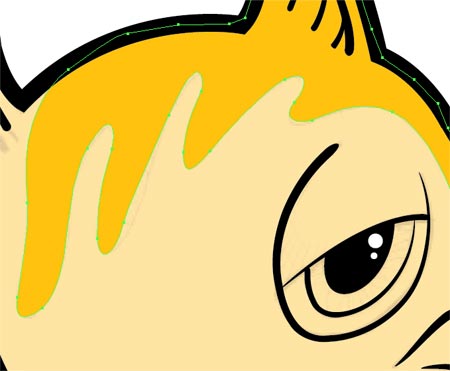
Drop the transparency of this new block of colour to see the outline of the scales pattern.
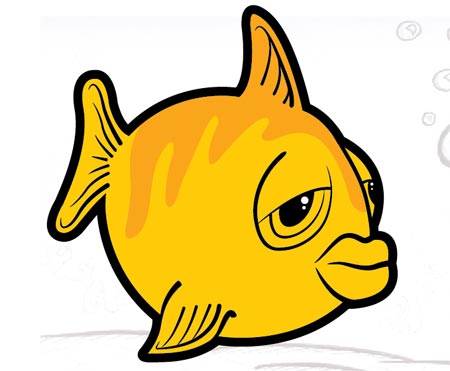
Bring back the transparency to 100% and fill this area with a slightly darker tint.
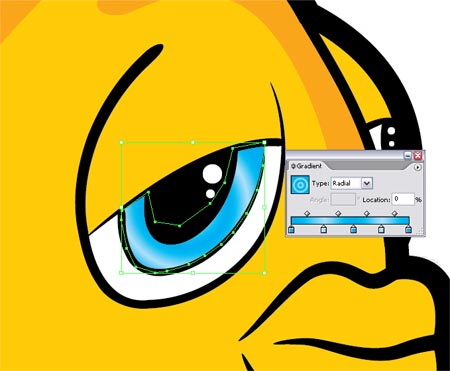
Begin work on the eyes by filling the relevant areas white using the same process of roughly drawing a block of colour around the necessary area.
Add a little more detail to the iris by filling the area with an intricate gradient rather than a solid colour.
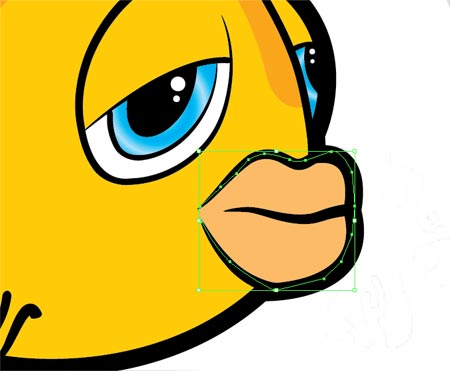
Pick a hue for the lips and draw in the block of colour.
Draw a large area of shade on across the underbody on the character using a slightly darker tint. Correct the area around the fin where the shadow overlaps by drawing an extra area of the base colour.
Add more areas of shade around the eyes and lips to give the impression of a three dimensional form where the light is cast across the shape.
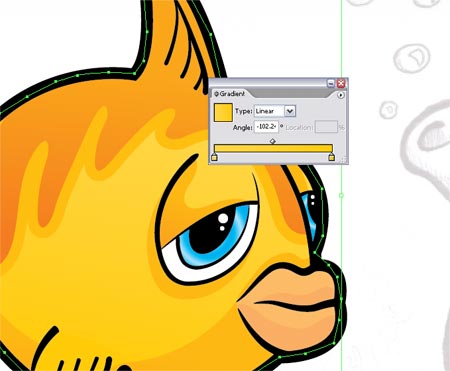
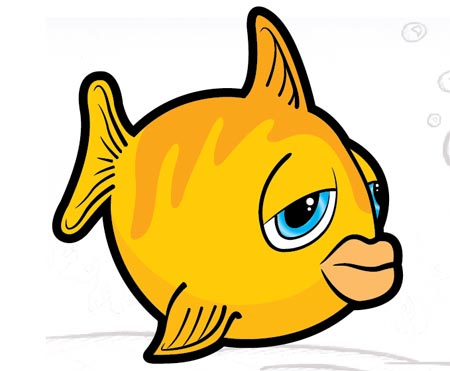
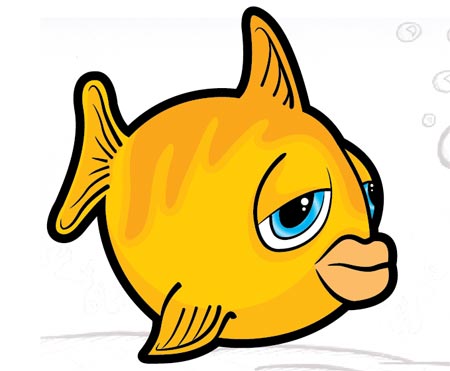
The design process could stop here, but to add a little more depth to the character use a few very subtle gradients across the blocks of colour. This will produce a gradual change of colour from light to dark giving a better impression of the shape.

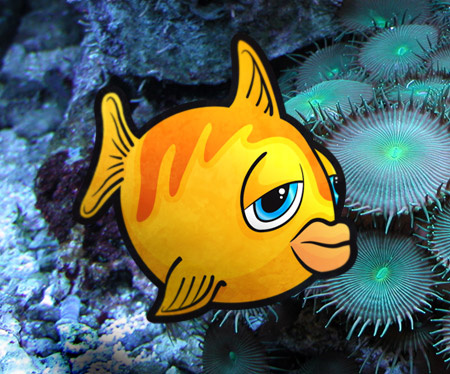
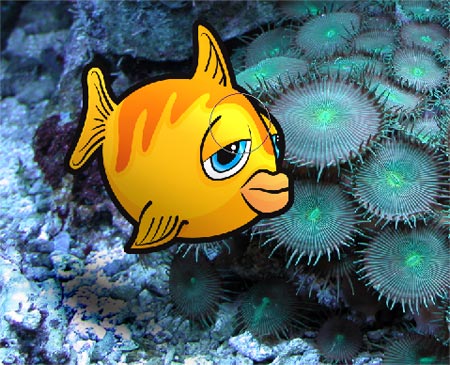
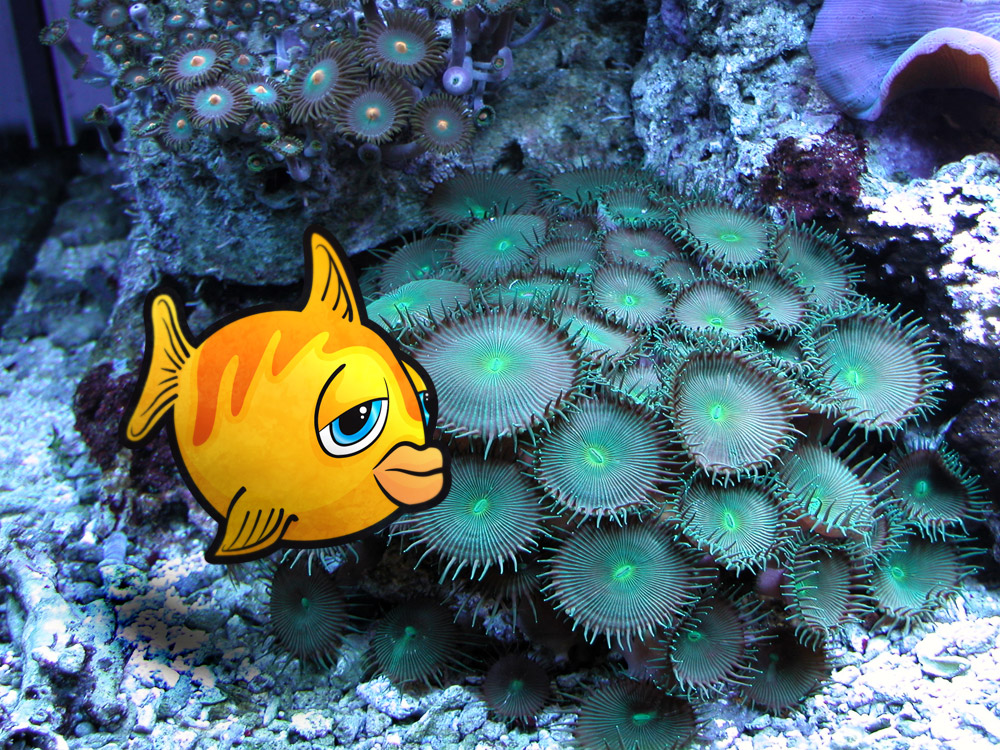
The character design is complete, but Freddy the Fish needs a home. Jump onto the internet and find an underwater scene, I found a corel scene from Stock Xchange.
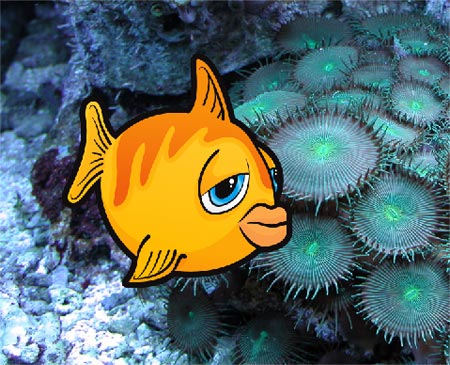
Switch over to Adobe Photoshop and open up the scene, paste in your character and scale to size.
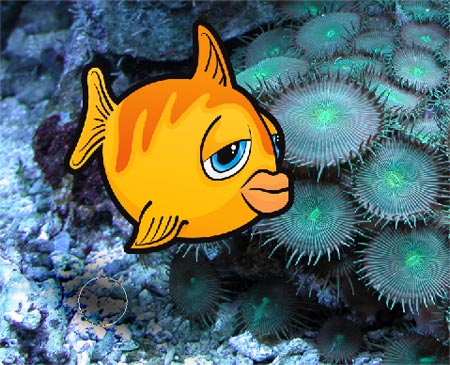
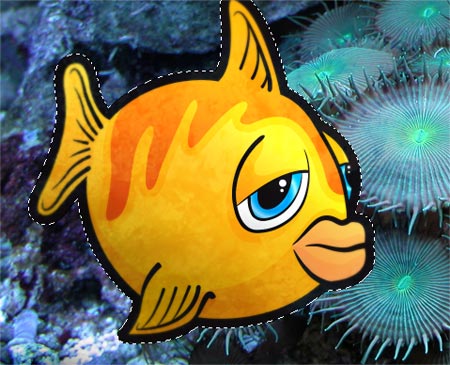
Use the Burn Tool to create a shadow on the background to help the character blend into the scene.
Also use the Burn Tool and Dodge Tool to add extra highlights and shadows to the character taking notice of the light sources in the image.
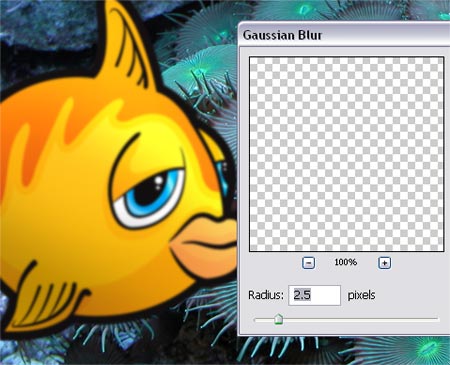
Duplicate the character layer and add a slight Gaussian Blur. Use a large, soft Eraser brush to delete out the main body of the fish, leaving just the fins with a slight blur.
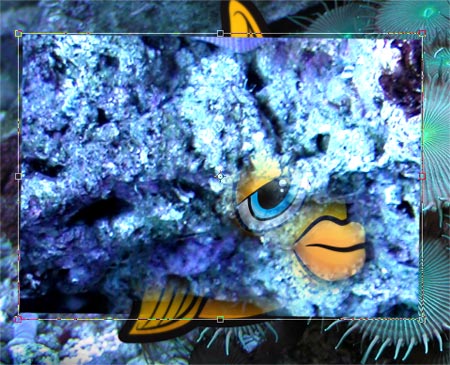
Copy and paste from a rocky area of the background, position this over the character.
Change the blending mode to Soft Light and drop the opacity right down to 20%.
Using similar techniques, follow this tutorial to create your own vector character; Freddy the Fish.
As with Captain Blackspoon, the process starts with a hand drawn doodle which is scanned into the computer.
Open up Adobe Illustrator and place the scanned image into the artboard, set the opacity to 20% and lock the layer.
Create a new layer above the scan (name it outlines) and draw a path following the outside of the character using the pen tool.
Use the Direct Selection Tool to tweak the points of the path to your desire.
Add a thick 9pt stroke to the path.
Follow on the flow of the line between the eye and body with a thinner 4pt stoke.
The traditional method of inking drawings results in a tapered brush stroke where the pressure of the pen minimizes to a point. To create a similar effect in Illustrator we need to create a new art brush.
Draw a circle somewhere on the artboard making the size as wide as the largest line width.
Use the Direct Select Tool to drag the right most point outwards whilst holding Shift.
In the Brushes palette click the 'New Brush' icon and select 'Art Brush' from the menu.
Continue drawing paths across the detail of the character, then select the brush from the Brushes Palette. Line up the stroke with the large outline to create a smooth flow.
Use varying widths to the different levels of detail, where the finer lines are stroked with a 0.5pt line.
Repeat the process on the outline of the eyes, then create a shape with a black fill to act as the pupil.
Add a couple of circles to the pupil as highlights.
Toggle off the visibility of the sketch layer to check out the outlines so far, adjust any areas as necessary.
To begin adding colour create a new layer between the sketch and outlines. Select a colour swatch and roughly draw around the outline of the character, make sure not to stray beyond the thickness of the black stroke.
Drop the transparency of this new block of colour to see the outline of the scales pattern.
Bring back the transparency to 100% and fill this area with a slightly darker tint.
Begin work on the eyes by filling the relevant areas white using the same process of roughly drawing a block of colour around the necessary area.
Add a little more detail to the iris by filling the area with an intricate gradient rather than a solid colour.
Pick a hue for the lips and draw in the block of colour.
Draw a large area of shade on across the underbody on the character using a slightly darker tint. Correct the area around the fin where the shadow overlaps by drawing an extra area of the base colour.
Add more areas of shade around the eyes and lips to give the impression of a three dimensional form where the light is cast across the shape.
The design process could stop here, but to add a little more depth to the character use a few very subtle gradients across the blocks of colour. This will produce a gradual change of colour from light to dark giving a better impression of the shape.
The character design is complete, but Freddy the Fish needs a home. Jump onto the internet and find an underwater scene, I found a corel scene from Stock Xchange.
Switch over to Adobe Photoshop and open up the scene, paste in your character and scale to size.
Use the Burn Tool to create a shadow on the background to help the character blend into the scene.
Also use the Burn Tool and Dodge Tool to add extra highlights and shadows to the character taking notice of the light sources in the image.
Duplicate the character layer and add a slight Gaussian Blur. Use a large, soft Eraser brush to delete out the main body of the fish, leaving just the fins with a slight blur.
Copy and paste from a rocky area of the background, position this over the character.
Change the blending mode to Soft Light and drop the opacity right down to 20%.
No comments:
Post a Comment